
XAMPP has been designed to be the easiest way to install and run a development server on your local computer. There are numerous other XAMPP-like software available, but XAMPP is one of the most famous software.
In addition to Apache, MySQL, PHP, and Perl, XAMPP includes other really useful tools such as the phpMyAdmin database administration tool, FileZilla FTP server, Mercury mail server, and JSP server Tomcat. XAMPP can also install an administration site as the home page of the server.
From which you can undertake all manner of administrative tasks, such as checking the server status and security, launch tools like phpMyAdmin, and Webalizer analytics.
Steps to download & install XAMPP on Windows
Step 1
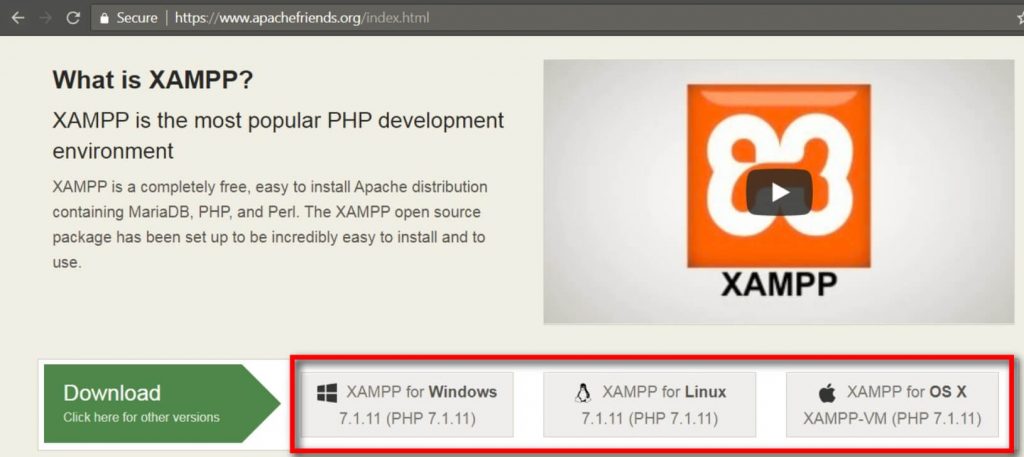
In the web browser, You can easily download XAMPP from https://www.apachefriends.org/. Since it is open-source you can download it for free.
Step 2
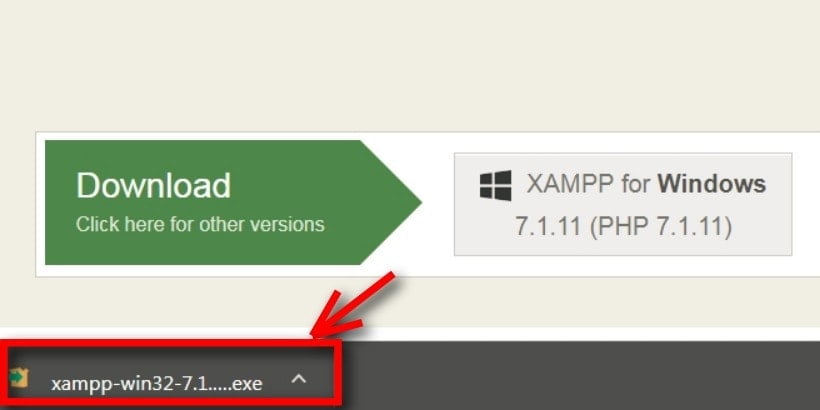
Once the software is downloaded, you have to install it by double-clicking the .exe file.
Step 3
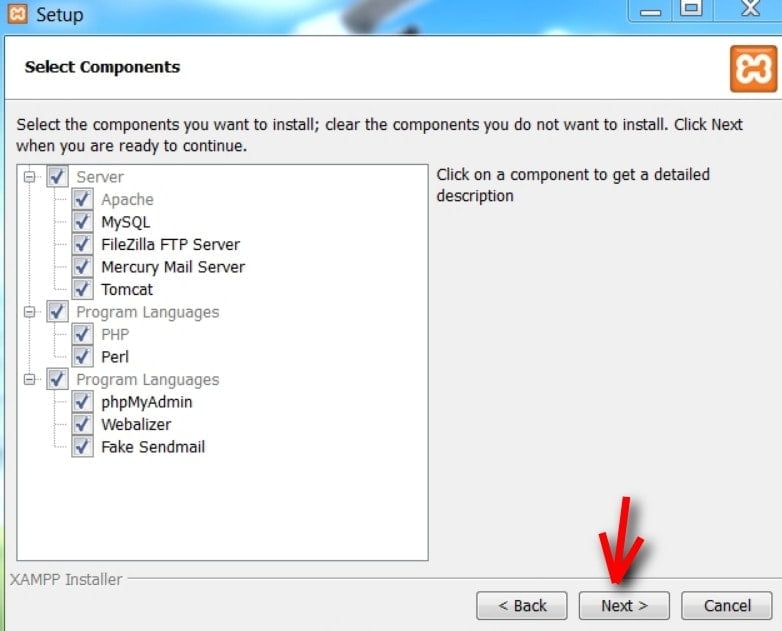
Once the file is executed, a setup window appears. In the setup file, select the components that are required. For example (if you want to install WordPress on XAMPP, the required components are MySQL, Apache, PHPMyAdmin).
Step 4
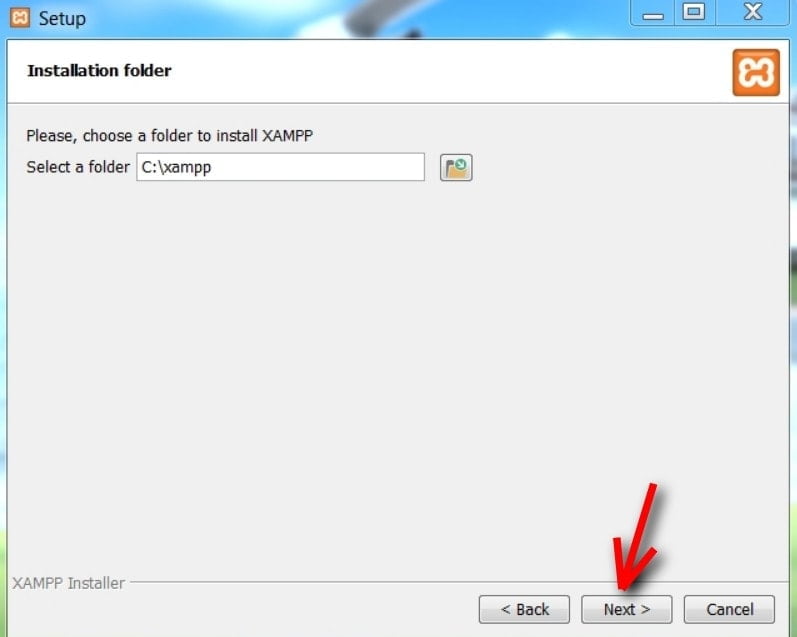
The next step is to choose the folder where the file is to be located. It is recommended to choose the default “C drive” and then click the “Next” button.
Step 5
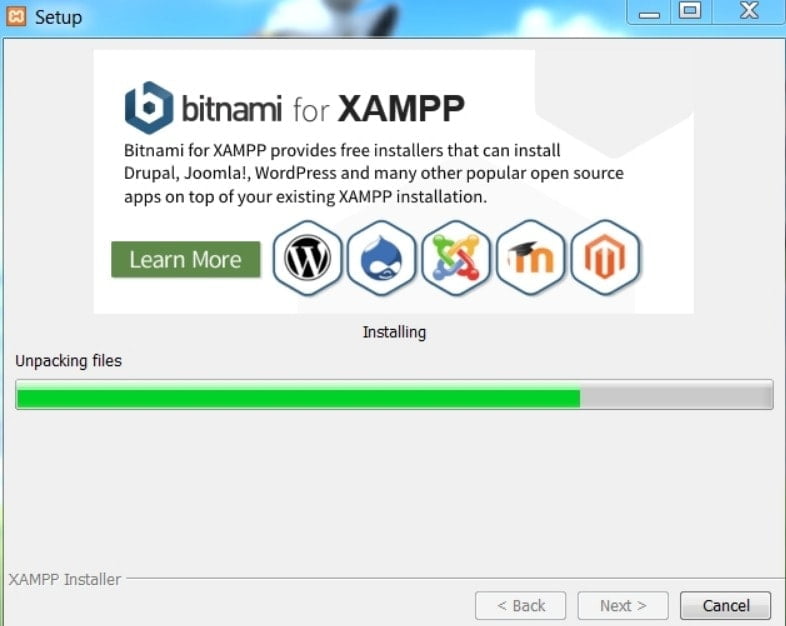
Clicking on the next your installation process will be started. The setup wizard will unpack and install all the selected components and will save them to their designated directory. The installation process takes a couple of minutes to complete.
Step 6
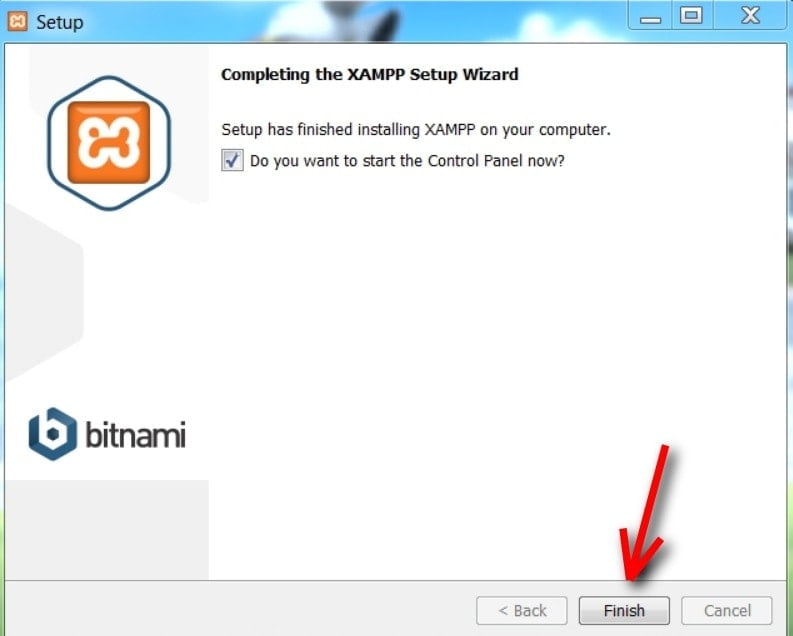
Once the installation process is completed, click on the “Finish” button.
Step 7
Once done, the XAMPP icon will appear on your desktop or start menu. By double-clicking the XAMPP icon, the XAMPP control panel window appears.

Step 8
In the XAMPP control panel, click the necessary modules that are required for you to work. You can start the modules by clicking the “Start” button under “Actions”. You will be able to see the initiated modules highlighted in green.
For example, if you are using the WordPress platform then the required components are Apache and MYSQL.
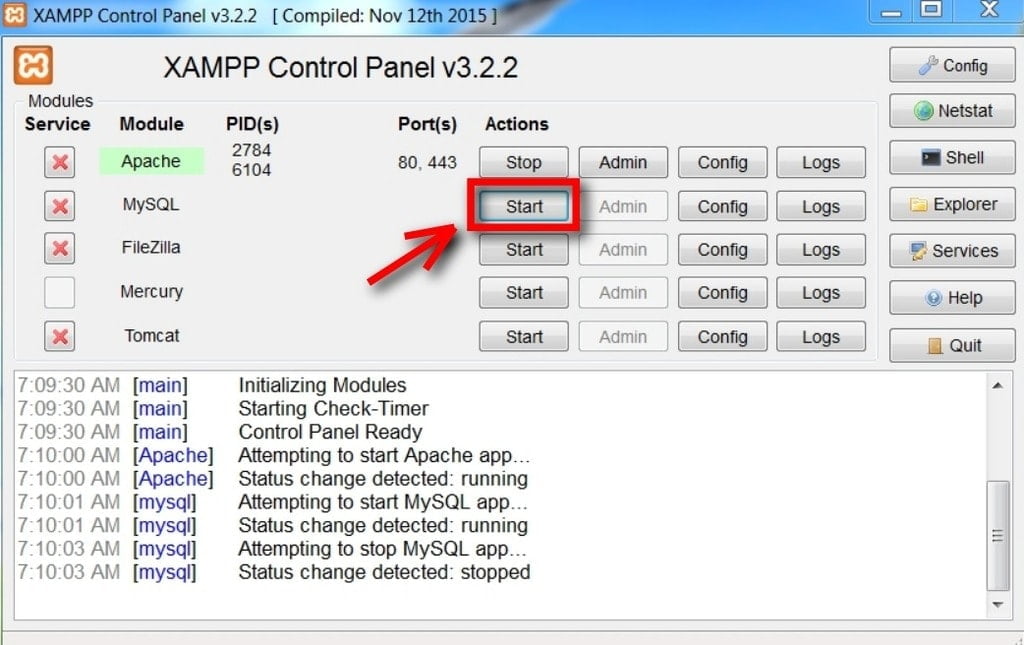
Note: If you cannot start a module as a result of the error, then it will be indicated with a red font. They will provide you with a detailed report to identify the cause of an error.
Step 9
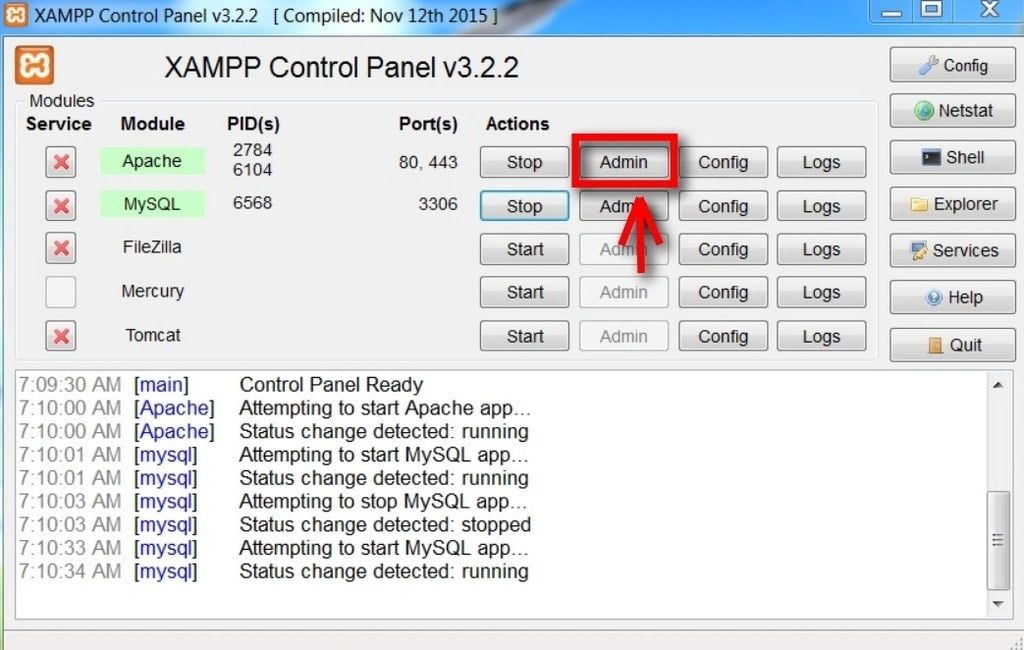
Then by clicking the Apache or any “Admin” button in the XAMPP control panel, you will be able to configure each module setting separately.
Step 10
That’s it, now in your web browser type localhost and you will be able to see a splash screen of XAMPP. Here you have to choose a language which you understand.

Step 11
By clicking the English button, you will be at the admin page of XAMPP.
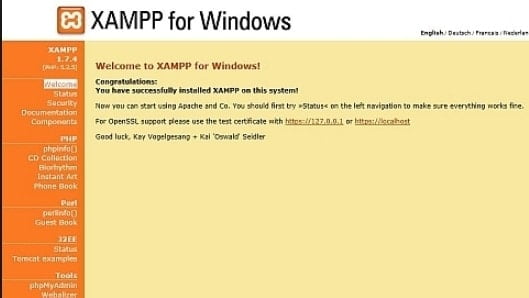
Now you have successfully installed XAMPP on your windows.
Steps to download & install XAMPP on Mac
Step 1
Download the latest version of XAMPP from its official website https://www.apachefriends.org/.
Step 2
Once the software is downloaded, now rename the XAMPP file or change the downloaded extension. That is, from .b2z to .dmg. A pop-up menu will appear, there click the use.dmg button.
Step 3
Once the extension is changed, double-click the XAMPP file. A XAMPP icon will appear. Now double click the XAMPP icon.
Step 4
A popup menu will appear, in that click the Open button.
Step 5
It will direct you to a screen to enter your mac details such as username and password and then click the OK button.
Step 6
Next, it will direct to the wizard steps to set up Mac OS. In the wizard, setup screen click the Next button.
Step 7
In this step, select all components you want to install. If you want to install XAMPP Core Files and XAMPP Developers Files, select both the components and click the Next button.
Step 8
Now the XAMPP will be installed in the Applications/XAMPP directory. Here click the Next button.
Step 9
In this step a setup screen will appear, here click the Next button.
Step 10
A ready-to-install screen will display, click the Next button and wait for the XAMPP installation process to complete.
Step 11
Once the XAMPP installation process is completed successfully, click on the Finish button. On this screen please see if the Launch XAMPP checkbox is marked.
Step 12
After clicking the Finish button, the XAMPP application will open automatically. Here start running the Mysql and Apache servers one by one. If all the servers are running successfully, it means you have installed the XAMPP on Mac OS successfully.
Step 13
That’s it, now in your web browser type localhost/dashboard and you will be able to see a splash screen of XAMPP.
Steps to download & install XAMPP on Linux
Step 1
Download the latest version of XAMPP from its official website https://www.apachefriends.org/ by clicking the XAMPP for Linux option.
Step 2
Once the downloading process is complete, open the terminal window by pressing the “Alt+Enter+T” key.
Step 3
In the terminal window type in cd Downloads and press Enter key.
Step 4
Next in this step, execute the following command:
chmod +x xampp-linux-x64-7.2.9-0-installer.run
Step 5
Inorder to install XAMPP, execute the following command:
sudo ./ xampp-Linux-x64-8.0.9-0-installer.run
Step 6
Here enter your password to log in to your computer and press Enter key.
Step 7
A popup menu will appear directing you to the setup window. Here click the Next button to start the setup process.
Step 8
In this step, select all components you want to install. If you want to install XAMPP Core Files and XAMPP Developers Files, select both the components and click the Next button.
Step 9
Now the XAMPP will be installed in the Applications/XAMPP directory. Here click the Next button.
Step 10
In this step a setup screen will appear, here click the Next button.
Step 11
A ready-to-install screen will display, click the Next button and wait for the XAMPP installation process to complete.
Step 12
Once the XAMPP installation process is completed successfully, uncheck the Launch XAMPP option and click the Finish button. The installation window will be closed and you need to run the XAMPP.
Note: Since there are a few more installation processes to be done before running the XAMPP automatically.
Step 13
In this step, reopen the terminal window, enter the following command, and press Enter:
cd/opt/lamp
Note: XAMPP will never have any desktop files, so each time you want to run XAMPP you have to launch the installation directory via terminal.
Step 14
Here type in the following command and press Enter:
sudo ./ XAMPP-Linux-x64.run
Step 15
Here enter your password to log in to your computer and press Enter key.
Step 16
The XAMPP window will open, in that click the Manage Servers tab.
Step 17
Finally, click the Start All tab which is at the bottom of the window. Clicking this will prompt any active components of XAMPP to begin running.
Step 18
That’s it, now in your web browser type 127.0.0.1 and you will be able to see the XAMPP dashboard.
Hope you guys got an idea of installing XAMPP on different OS. If you have any queries or suggestions please feel free to comment on us. Your suggestions are most welcome to improve our article better.