Whenever you update or debug an existing page, your visitors will get an error page unless you put WordPress into maintenance mode. However, if you update an existing page or do any debugging, you should put the website into maintenance mode.
This article describes several ways to put WordPress into maintenance mode, but it’s important to know when you should put your site into maintenance mode.
Maintenance mode should be activated when WordPress is in the update or debugging mode. Instead of getting an error message, it’s better to inform the customer that WordPress is in maintenance.
In other words, maintenance mode informs that the site is under construction or in offline mode. This is the best way to show your visitors that your website or a particular page is under construction.
To put WordPress in Maintenance Mode
There are many ways to put a site into maintenance mode, but the easiest way is to use plugins. Since there are many plugins available, I will suggest one important plugin.
SeedProd plugin
SeedProd plugin is used by more than a million users and helps in developing custom pages, maintenance pages, and landing pages for marketing. We can avoid the remaining features of this plugin because we are now switching to the maintenance mode of this plugin.
To get started, you should first install the SeedProd plugin.

Find the plugin and install and activate it from the link shown. Now open the SeedProd plugin.
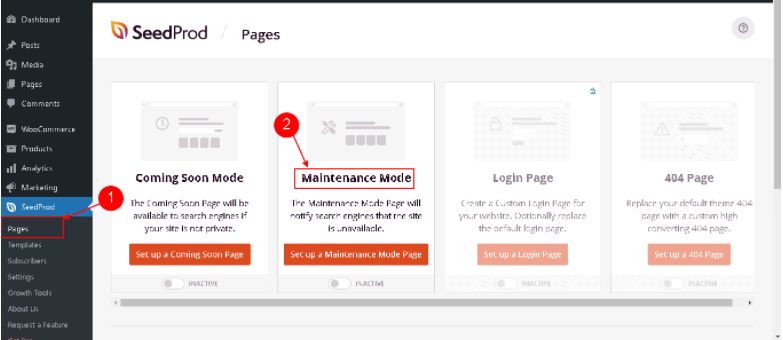
Navigate to Pages and select “Maintenance Mode”. You will get a new page with a variety of screens for maintenance mode.
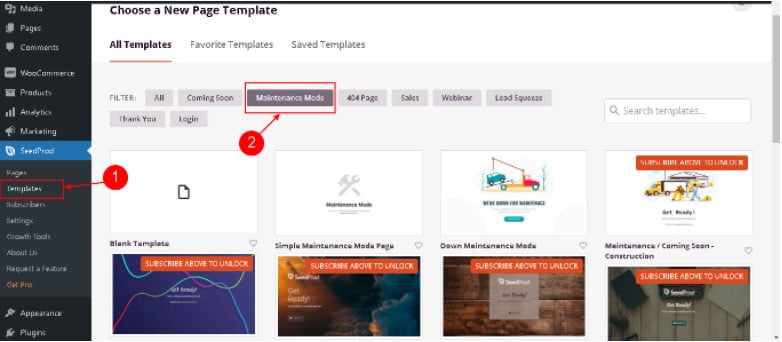
You will only get a few templates for free, once you subscribed using your email, you will receive additional templates. In the pro version, you will get additional templates.
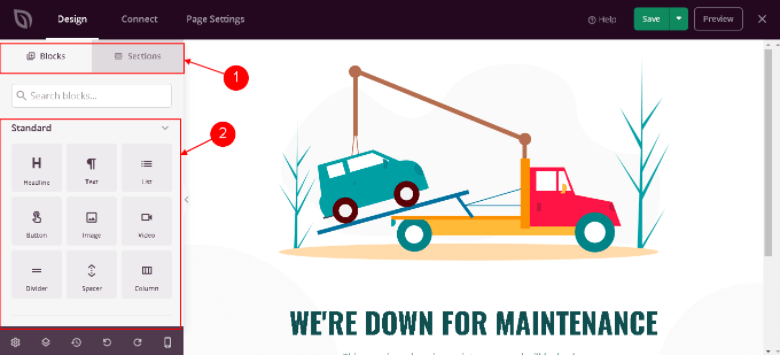
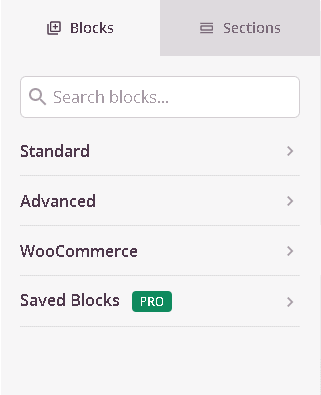
You can keep anything with the icons in the standard section. Also, you have additional icons under the sections like Advanced, WooCommerce, Saved Blocks.
Create your own maintenance mode page and finally save the page. Next, you have the option to control access to the site for logged-in users.
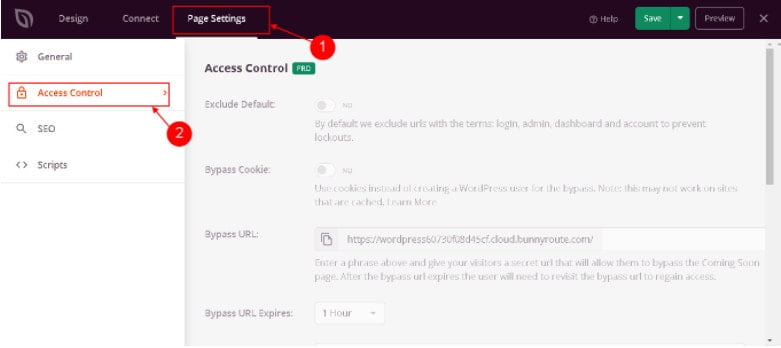
To control access to the site, simply navigate to “Page Settings” and go to the “Access Control” option. The main purpose is that you can allow some users to access your website even if it is in maintenance mode.
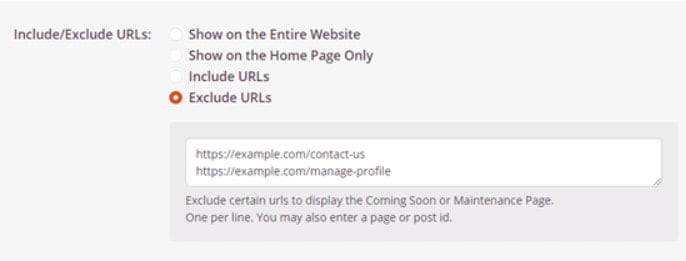
In advance, you can exclude some pages from maintenance mode.
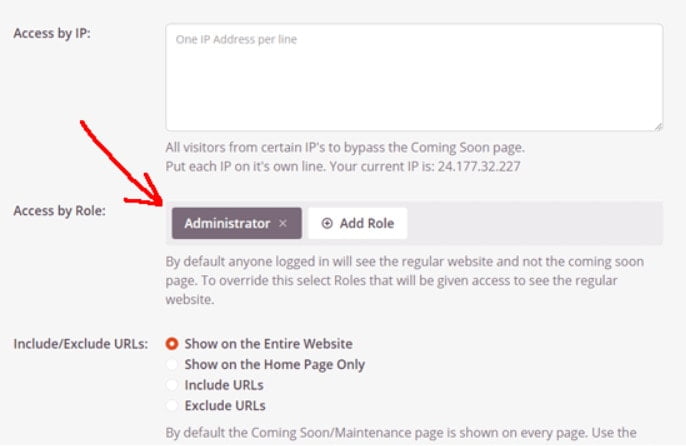
You can allow some users with certain IPs or roles to bypass maintenance mode. So, these specific users can access the website when it is in maintenance mode.
Summary
There are many ways to put your website in maintenance mode, but in my opinion, you should use plugins. The plugins provide many options to customize the maintenance mode page that are not possible in the manual options. So I always recommend using plugins if you want it to be quick.
Hope you like our post, Steps to Put your WordPress into Maintenance mode. You can follow us on Facebook and Twitter to get the latest updates.